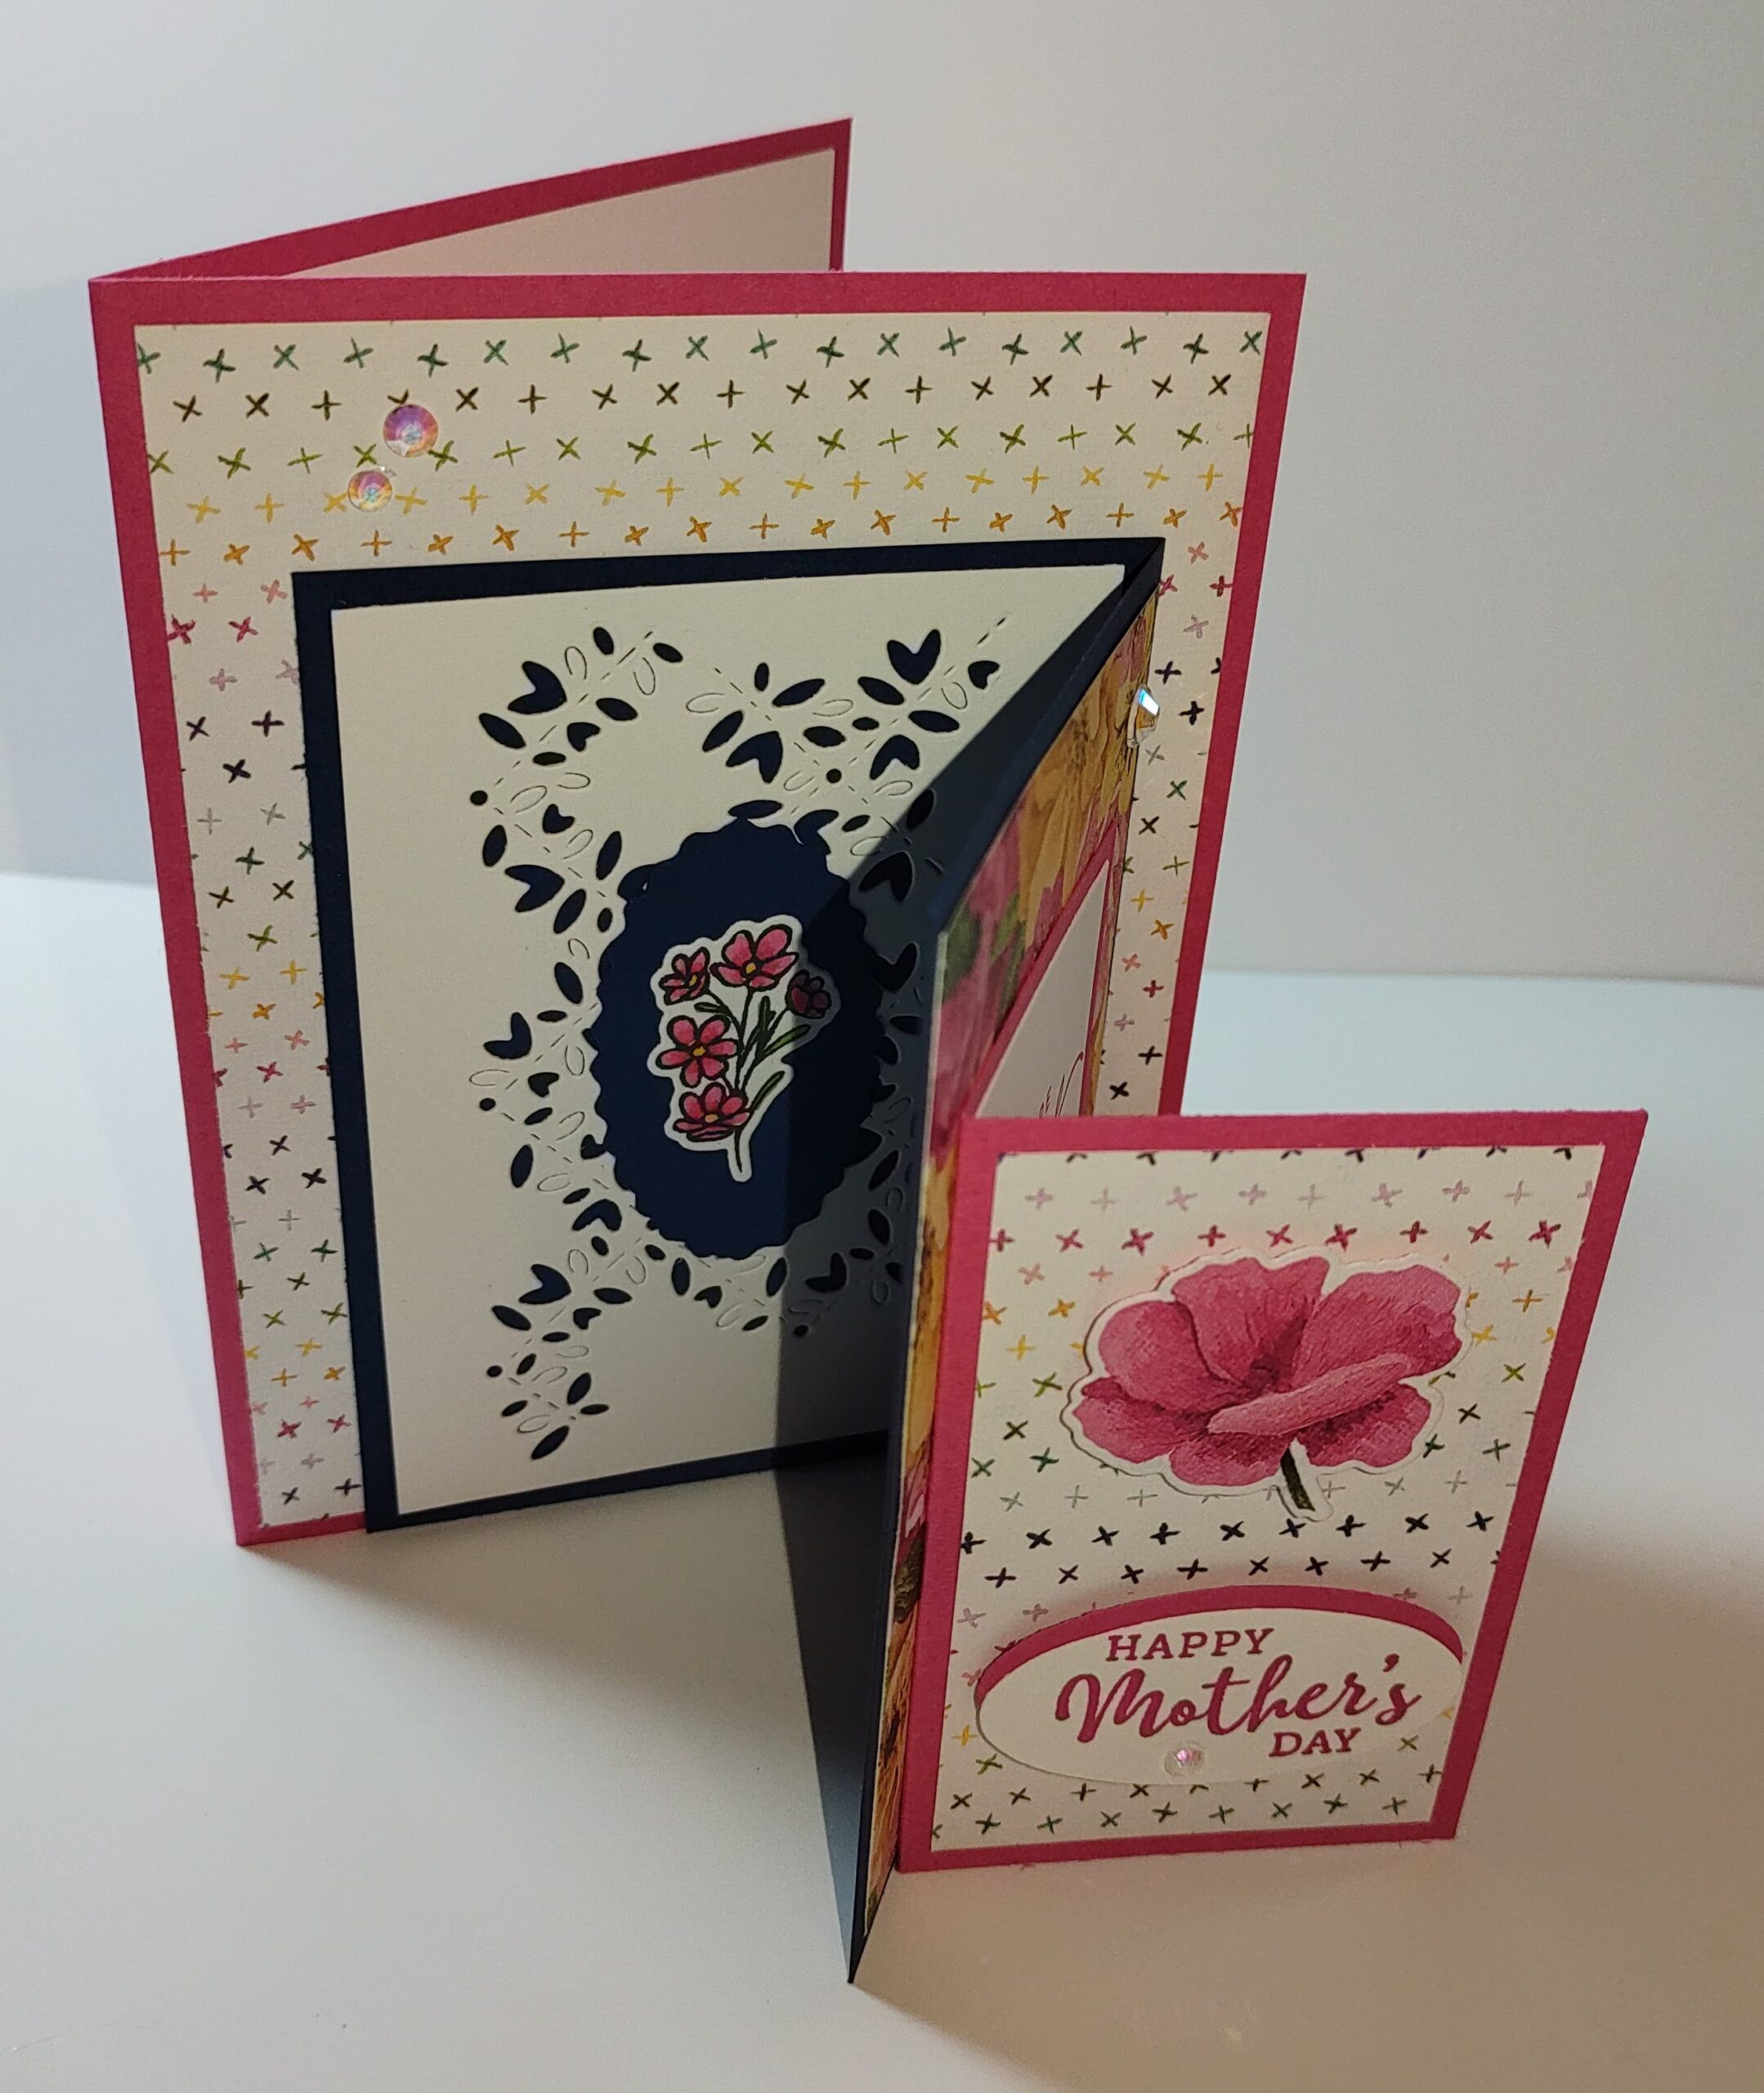
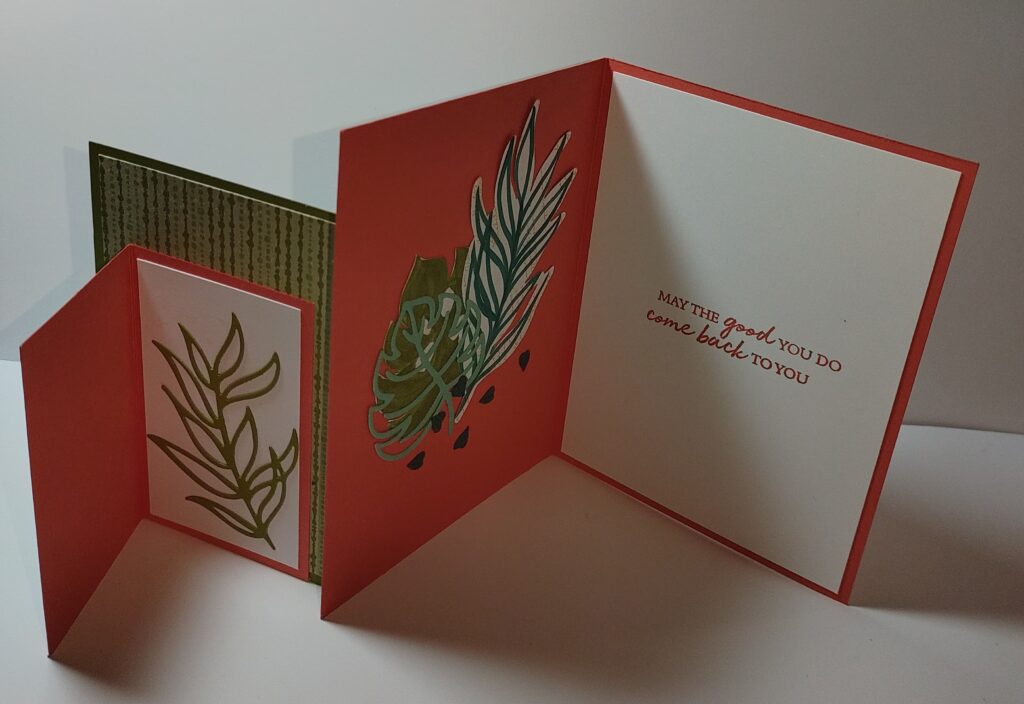
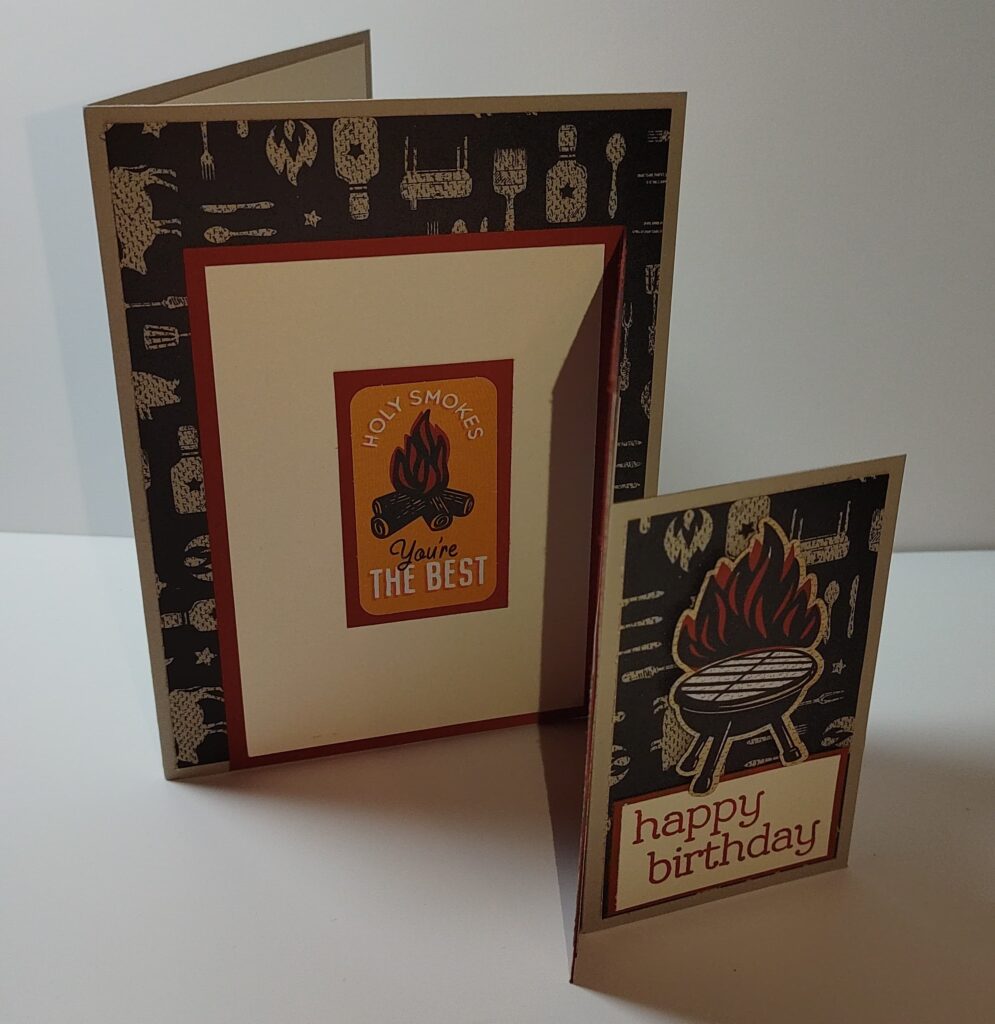
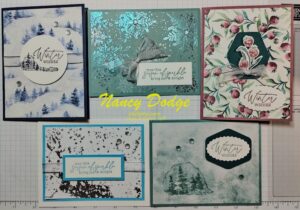
This is the card that was done during the May 1, 2022 YB Stampin’ Facebook Live – Mystery Card Class. I was inspired by Lisa Curcio’s “Z” Fold card.
Items needed to do the project:
Cardstock of choice:
- 5 1/2″ x 8 1/2″, score at 4 1/4″
- 4 1/2″ x 6 1/2″, score at 3 1/4″
- 3 1/2″ x 4 1/2″, score at 2 1/4″
Designer Series Paper:
- 4” x 5 1/4″
- 3” x 4 1/4″
- 2” x 3 1/4″
Basic White:
- 4” x 5 1/4″
- 3” x 4 1/4″
- 2” x 3 1/4″
- Scraps for sentiment on cover
Other items needed:
- 3 different coordinating die cuts, you may also use stamped images
- Coordinating Stamp set
- Coordinating Ink
- Adhesives
- Embellishments
Directions:
- Sort your 3 card sizes along with the DSP, white cardstock, die-cuts and any sentiments
- Beginning with the smallest card pieces, adhere DSP to front of card, add stamped sentiment if desired & die-cut (you may use dimensionals)
- Stamp sentiment or image on white cardstock & adhere to inside of smallest card
- Pull out next size up card pieces, adhere DSP to front of card, then turn/flip it around so it opens from the left
- Adhere die-cut on medium white cardstock then adhere to inside left
- If desired, add a piece of DSP to fit a gift card on the right
- Pull out largest card pieces, adhere DSP to front of card
- Adhere die-cut on largest white cardstock then adhere to inside right; you could also stamp a sentiment on the white cardstock and adhere the die-cuts to the left side of If desired, add a piece of DSP to fit a gift card on the left
- Adhere 3 cards together making sure they are all even on the bottom to make a stand-up “Z” fold